
What is Delay? A Complete Guide to Delay Types and Mixing Techniques
Delay creates space, rhythm, and depth. Master essential parameters like Time and Feedback, and learn advanced techniques like Slapback, Haas, and Ducking Delay.
A Delay is a time-based processor that records an input signal and plays it back after a designated period of time, creating an echo effect. When mixed back with the original sound, delay can add space, stereophonic width, rhythmic interest, and depth to a mix.
In modern mixing, delay is often used as a cleaner, more transparent alternative to reverb. While reverb creates a dense "cloud" of reflections that can muddy a busy mix, delay repeats the sound in distinct pockets, preserving the empty space around the source.
The Core Parameters of Delay
Regardless of the plugin you use, these four parameters form the foundation of delay manipulation:
- Delay Time: The amount of time between the original signal and the repeat. This can be set in absolute milliseconds (ms) or synchronized to your DAW's tempo (BPM) using musical subdivisions (e.g., 1/4 note, 1/8 note, dotted eighth, or triplets).
- Feedback: Controls how much of the delayed output is sent back into the input. A feedback setting of 0% results in a single echo (slapback). Higher feedback percentages create longer chains of repeating echoes. Be careful: settings near 100% can cause self-oscillation, building up into a loud feedback loop.
- Mix (Dry/Wet): Adjusts the balance between the unprocessed original signal (Dry) and the delayed repeats (Wet). On a Send/Return track, always set this to 100% Wet.
- Feedback Filters (HPF/LPF): Filters built directly into the feedback loop. By rolling off high frequencies (LPF) or low frequencies (HPF) on the repeats, you can simulate natural distance, making each echo sound darker and softer than the one before it.
The 4 Classic Delay Types
Different delay topologies offer distinct sonic textures. Choosing the right type defines the vibe of your track:
- Digital Delay: Extremely clean, precise, and transparent. The repeats are exact clones of the input signal. Perfect for modern pop vocals, synth echoes, and clean rhythmic effects.
- Analog / BBD (Bucket Brigade Device): Uses vintage capacitor chips that pass the signal down a line like a bucket brigade. The signal loses high frequencies and fidelity with each step. The repeats are dark, warm, and slightly distorted, blending into the background of a mix beautifully.
- Tape Delay: Emulates vintage tape machines that record audio onto a continuous loop of magnetic tape. It introduces tape saturation, bandpass filtering, and subtle pitch modulation called "wow & flutter". Excellent for vintage warmth, indie rock, and lo-fi vibes.
- Ping-Pong Delay: Alternates the repeating echoes back and forth between the left and right speakers. Great for adding wide, panning movement to synth leads, backing vocals, and sound effects.
3 Pro Mixing Techniques using Delay
Professional mixing engineers use delay in creative ways to widen tracks, add depth, and avoid clashing with the lead performance.
- Slapback Delay: Set a single repeat (0% feedback) with a short delay time between
80 msand140 ms. Blend it quietly behind a lead vocal or electric guitar. This adds instant thickness, weight, and a classic 50s rock-and-roll vibe without the wash of a reverb. - The Haas Effect (Stereo Widening): A psychoacoustic trick to make a mono signal sound ultra-wide. Duplicate your mono track, pan one hard left and the other hard right, and insert a delay plugin on one side set to 100% wet with 0% feedback. Set the delay time between
10 msand35 ms. Your brain will perceive a single, massive stereo image. *Warning: Always sum the mix to mono to verify Mono Compatibility; EQs and delays close in time can cause comb filtering when folded.* - Ducking Delay (Sidechain Delay): Place a compressor immediately after the delay plugin on your auxiliary send track. Set the compressor's sidechain input to be triggered by the lead dry vocal. Every time the vocal sings, the compressor clamps down on the delay tail. When the vocal pauses, the compressor releases, allowing the delay to swell up in the gaps. This keeps the vocal upfront and clear while filling the spaces between phrases.
Frequently asked questions
What is the difference between Reverb and Delay?
<strong>Delay</strong> creates distinct, separated repetitions of a sound (like an echo). <strong>Reverb</strong> blends thousands of rapid reflections together into a single continuous, diffuse block of sound (like a room). Delay is generally more transparent and easier to manage in a dense mix.
How do I synchronize my delay to the song's tempo?
Most delay plugins feature a <code>Sync</code> button. When engaged, it automatically reads your DAW's tempo and changes the delay time control from milliseconds to note values (like 1/4, 1/8, or 1/16 notes). Engage this to ensure your echoes repeat perfectly on beat.
When should I choose Delay over Reverb?
Choose <strong>Delay</strong> when you want to add depth, width, and space to a track without washing out its detail. Delay is especially useful in fast-tempo songs, dense mixes, or on lead elements like vocals and guitars where clarity is the absolute priority.
Recommended Related Products
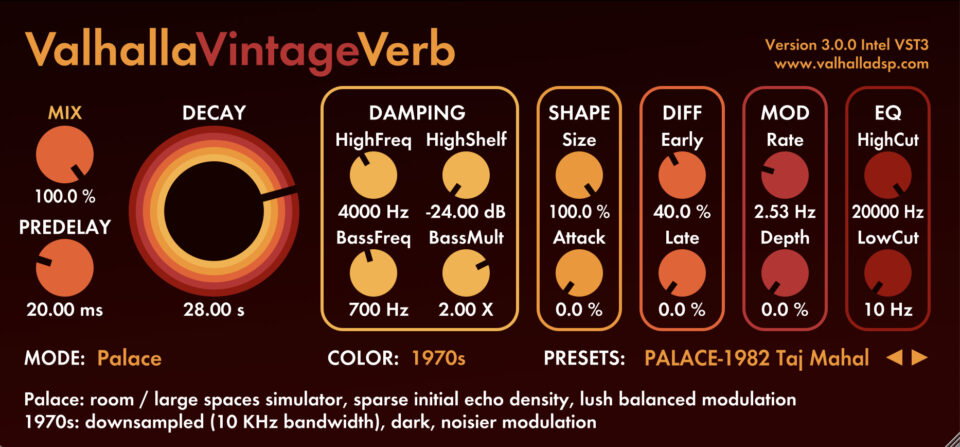
Valhalla DSP Bundle
World-class reverb and delay plugins - VintageVerb, Room, Delay, Supermassive and more.

Waves Total Bundle
The complete collection of 200+ Waves plugins for mixing, mastering, vocal processing and beyond.
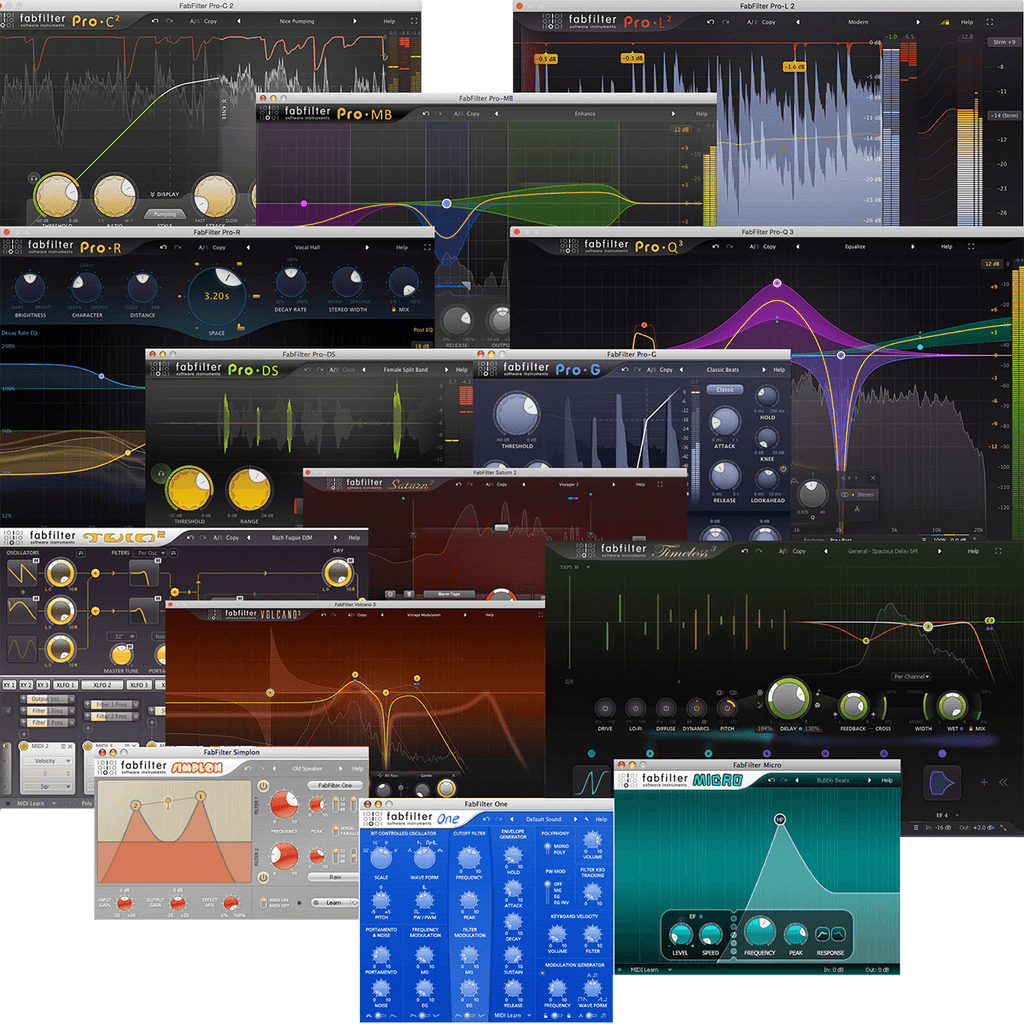
FabFilter Total Bundle 2024
Mastering-grade audio effect plugins including Pro-Q 3 and Pro-C 2.