
How to Master a Track at Home: A Step-by-Step Chain
Mastering is the final polish that makes a mix sound finished, cohesive, and loud enough to stand next to commercial releases. Learn a complete home mastering chain step by step: gain staging, EQ, compression, saturation, stereo, and the limiter, plus how to hit the right loudness for streaming.
Mastering is the last stage of music production. It takes a finished stereo mix and applies subtle processing to make it sound balanced, cohesive, and competitively loud, and to make sure it translates across phones, car stereos, club systems, and streaming platforms. It is not a magic fix for a weak mix — a careful master takes a good mix the final ten percent of the way, but cannot rescue a bad one.
You can master at home with a single instance each of an EQ, a compressor, a saturator, a stereo tool, a limiter, and a metering plugin. The chain below is a reliable, genre-agnostic starting point. The most important principle throughout is restraint: mastering moves are small, often a decibel or two, and the goal is to enhance what the mix already does well.
Step 0: Prepare the Mix and Set Up Metering
Before you touch a processor, prepare the source and configure your reference monitoring.
- Export the mix with headroom: aim for peaks around
-6 dBand integrated loudness well below your final target so the mastering chain has room to work. - Listen on the most honest monitoring you have.
- Reference one or two commercial tracks in the same genre at matched loudness so your ears have a clear target.
- Insert a loudness meter at the very end of the chain set to integrated mode. It should read both
LUFS(integrated) andtrue peak— these are the two numbers you track throughout the session.
Step 1: Subtractive and Tonal EQ
The first processor is a clean EQ, making broad, gentle moves only. Most tonal decisions should already be done in the mix; mastering EQ corrects the overall balance of the finished stereo file. Use wide, low-Q bands and small amounts — rarely more than two or three decibels.
- Apply a high-pass filter at
20–30 Hzto remove subsonic rumble that wastes headroom without being heard. - Compare against your reference and address tonal balance: add a gentle high shelf for air if dull; cut low mids around
200–400 Hzif boomy; apply a wide dip at2–5 kHzif harsh. - Use a dynamic EQ band for harshness that only appears during loud sections — it acts only when needed and leaves quieter passages alone.
- Bypass each move and A/B: it should be a genuine improvement, not just louder.
Step 2: Gentle Bus Compression for Glue
Master-bus compression binds the elements of the mix together and adds a subtle sense of cohesion and movement. Aim for only one to three decibels of gain reduction on the loudest moments — more than that and you start squashing the life out of the track.
- Set ratio to
1.5:1or2:1. - Set attack to
10–30 msso transients pass through and the track keeps its punch. - Set release so the compressor recovers in step with the tempo, or use auto release on complex material.
- Engage a high-pass filter on the compressor sidechain to prevent kick and bass from over-triggering gain reduction.
- Match output level to the bypassed level and A/B: the compressed version should sound more cohesive and controlled, not just louder.
Step 3: Saturation and Stereo Enhancement
A touch of saturation adds harmonic content that makes a master sound richer, warmer, and subtly louder without raising the peak level. It also helps low frequencies translate on small speakers by adding upper harmonics the ear reads as bass. Use it sparingly — a little analog-style warmth or tape saturation across the master adds density, but too much makes it harsh and fatiguing.
Stereo processing needs even more care. A subtle widening of the high frequencies can add a sense of space, but the low end should stay mono or near-mono so the bass is solid and translates on club and mono systems.
Step 4: The Limiter and Loudness
The limiter is the final processor and the one that sets loudness. It is a fast, transparent ceiling that stops the signal from exceeding a set output level, letting you raise the overall level into it to increase loudness.
- Set the output ceiling to
-1 dBTP(or-0.3to-1 dBTP) to leave headroom for codec conversion. - Loop a loud section such as the chorus and raise the input gain into the limiter.
- Play the full track and read the final integrated
LUFSon your meter. - Adjust input gain to hit your target: if aiming for
-11 LUFSbut reading-13, raise input by2 dB; if you overshoot to-9, drop it back.
Step 5: Loudness Targets and Final Checks
Streaming platforms normalize playback loudness, so chasing extreme loudness gains you nothing and costs you dynamics. A track louder than the platform target is simply turned down on playback — the only thing you keep from over-limiting is damage to your transients.
- Aim for roughly
-14to-9 LUFSintegrated depending on genre: quieter targets near-14for acoustic, jazz, and classical; louder near-9to-10for EDM, hip-hop, and pop where density is part of the sound. - Keep true peak at or below
-1 dBTPto avoid distortion when the file is converted to a streaming codec. - Reference commercial tracks at matched loudness — compare tone and balance, not raw volume.
- Check the master on multiple systems: studio monitors, headphones, a phone speaker, and a car if possible. A master that holds up everywhere is finished.
- Take breaks. Mastering tires the ears quickly, and small moves made on tired ears tend to grow into big mistakes.
Frequently asked questions
What LUFS should I master to for streaming?
Aim for roughly <code>-14</code> to <code>-9 LUFS</code> integrated depending on genre: nearer <code>-14</code> for acoustic, jazz, and classical; nearer <code>-9</code> to <code>-10</code> for EDM, hip-hop, and pop. Most platforms normalize around <code>-14 LUFS</code> and simply turn down anything louder, so pushing past your genre norm only flattens transients without increasing playback loudness. Keep true peak at or below <code>-1 dBTP</code> regardless.
Do I really need a compressor before the limiter?
Not always. If the limiter is only catching peaks and reducing 3 to 4 decibels, you can often skip a separate compressor. But if it is working constantly or squashing peaks by more than 5 or 6 decibels, a gentle <strong>bus compressor</strong> in front of it shares the workload — the compressor handles steady level control and glue, the limiter handles final peaks, and the result is cleaner than asking the limiter to do everything.
Can mastering fix a bad mix?
No. Mastering applies subtle, broad processing across a finished stereo file and cannot fix problems that live in individual tracks — a vocal that is too loud, a muddy bass, or a harsh cymbal. Those must be corrected in the mix. If a problem is preventing you from mastering well, go back and fix it in the mix rather than fighting it with master-bus processing.
Why does my master sound worse than the reference even at the same loudness?
The gap is almost always in the mix, not the master. If you have matched loudness and the reference still sounds clearer, fuller, or punchier, the difference is in tonal balance, arrangement, and the quality of the individual elements — things mastering cannot create. Use the comparison diagnostically: note whether the reference has more low-end weight, more air, or better separation, then decide whether a small mastering move helps or whether you need to revisit the mix.
Recommended Related Products
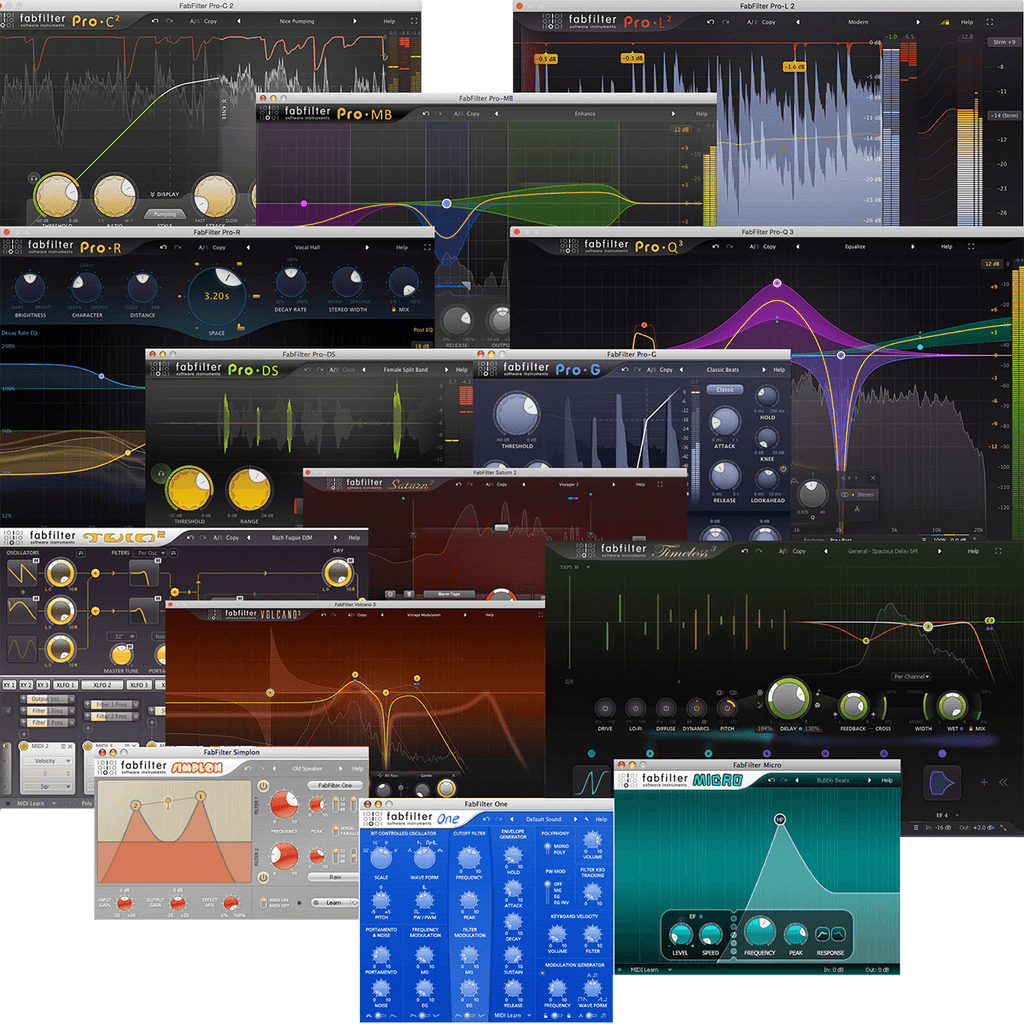
FabFilter Total Bundle 2024
Mastering-grade audio effect plugins including Pro-Q 3 and Pro-C 2.