
What is Reverb? Types of Reverb and How to Set Reverb Parameters
Reverb creates depth, width, and space in your mix. Master the core parameters like Decay, Predelay, and Dampening, and learn when to choose Room, Plate, or Hall reverb.
In physical space, sound waves bounce off walls, floors, and ceilings before reaching our ears. This collection of thousands of tiny, blended reflections is what we call Reverb (reverberation). It tells our brain how big a room is, what material the walls are made of, and how far away a sound source is.
In a stereo mix, EQs position elements vertically (height), panning positions them horizontally (width), and Reverb positions them front-to-back (depth). Without reverb, tracks sound flat, dry, and artificial; with too much reverb, the mix quickly drowns in a wash of mud. Plugins like Valhalla VintageVerb make dialing in these spaces highly creative.
The 5 Core Reverb Types
Different spaces yield different reflection patterns and tonal shapes. Selecting the right type is half the battle in mixing:
- Room: A small, enclosed space. It features fast, dense reflections that add body, warmth, and natural cohesion. Room reverb is highly transparent, perfect for gluing drums or making acoustic guitars feel like they were recorded in the same room.
- Hall: Simulates large concert halls or cathedrals. It features a long decay time, a wide stereo image, and a slow build-up of reflections. Best for orchestral arrangements, synth pads, and cinematic elements, but it easily clutters a busy pop mix.
- Chamber: A dedicated physical room with highly reflective surfaces (like tile or concrete) built specifically to capture echo. Chambers produce a thick, lush, and highly musical reverb tail that is classic on lead vocals.
- Plate: A mechanical reverb created by sending audio through a transducer to vibrate a massive metal sheet suspended in a box. Plates feature high diffusion, a bright, metallic tone, and no early reflections. They stand out on their own rather than blending, making them the absolute standard for lead vocals and snare drums.
- Spring: A mechanical design where audio vibrates metal coils inside a box. It has a distinct lo-fi, metallic, "boingy" sound. Spring reverb is a signature color for electric guitars (especially surf rock), dub reggae, and vintage lo-fi vibes.
The 4 Essential Parameters to Master
Almost every reverb plugin shares a core set of controls. Understanding how these parameters interact is critical for placing elements cleanly in the mix:
- Predelay (ms): The amount of time between the initial dry sound and the onset of the first reverb reflections. This is the single most important parameter for clarity. Setting a high predelay (e.g., 20–80 ms) lets the transient and body of a lead vocal pass cleanly before the reverb tail begins, keeping the vocal right in front of the listener instead of washing it backward.
- Decay Time / RT60 (seconds): The time it takes for the reverb reflections to die down by 60 dB. Longer decay times suggest a larger space, while shorter decay times (0.5–1.5s) add depth without eating up mix headroom.
- Dampening / Filters: Simulates how room materials absorb frequencies. High dampening cuts high frequencies in the tail, simulating soft materials like curtains or wood (producing a warm reverb). Low dampening preserves highs, simulating hard surfaces like concrete or metal (producing a bright, glassy reverb).
- Diffusion: The density of the individual reflections. High diffusion blends the reflections into a smooth, cloud-like wash. Low diffusion keeps reflections sparse, sounding more like separate, discrete echoes.
The Abbey Road Reverb Trick
One of the most famous techniques in professional mixing is the Abbey Road Reverb Trick. Reverb tails contain a lot of low-end energy (which causes mud) and high-end sibilance (which causes harshness). To keep your mix clean:
Instead of inserting reverb directly onto a track, set it up on an auxiliary/return track (100% Wet). Insert an EQ plugin immediately BEFORE the Reverb plugin on that send track.
Place a High-Pass Filter (HPF) on the EQ, cutting everything below 600 Hz. Then, place a Low-Pass Filter (LPF) cutting everything above 10,000 Hz (10 kHz). This limits the frequencies entering the reverb, ensuring the tail is warm, focused, and completely free of low-end clutter and high-end sizzle.
Frequently asked questions
Should I insert reverb directly on a track or use a Send?
Always prefer using a <strong>Send / Return</strong> track. It saves CPU resources because multiple tracks can share the same reverb space. More importantly, it gives you complete control over the reverb tail — allowing you to EQ, compress, or gate the reverb independently from the dry signal.
How do I choose between Plate and Hall reverb for vocals?
Use <strong>Plate Reverb</strong> for modern vocals that need to sound bright, exciting, and sit on top of a dense mix. Use <strong>Hall Reverb</strong> if the vocal is in a sparse arrangement (like acoustic piano and voice) and needs a deep, lush, and realistic sense of physical space.
What is RT60?
<strong>RT60</strong> stands for Reverberation Time 60dB. It is the standard scientific measurement for decay time, indicating how many seconds it takes for the acoustic energy in a room to decay by 60 decibels from its initial peak.
Recommended Related Products
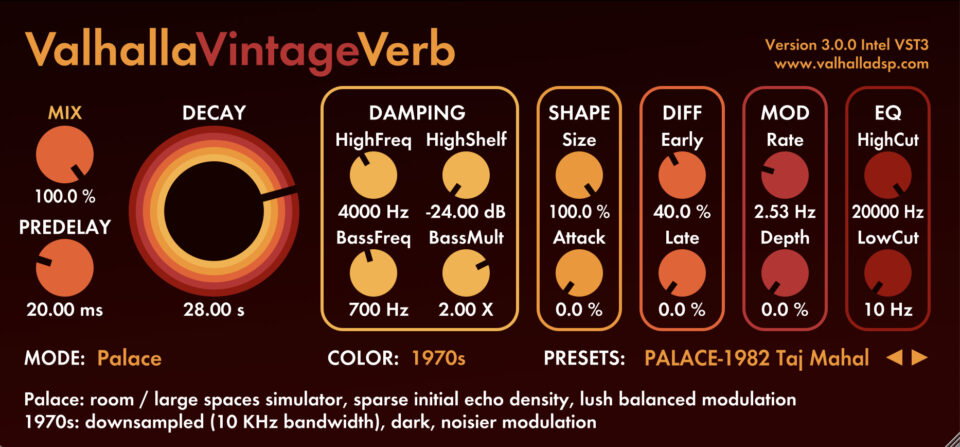
Valhalla DSP Bundle
World-class reverb and delay plugins - VintageVerb, Room, Delay, Supermassive and more.
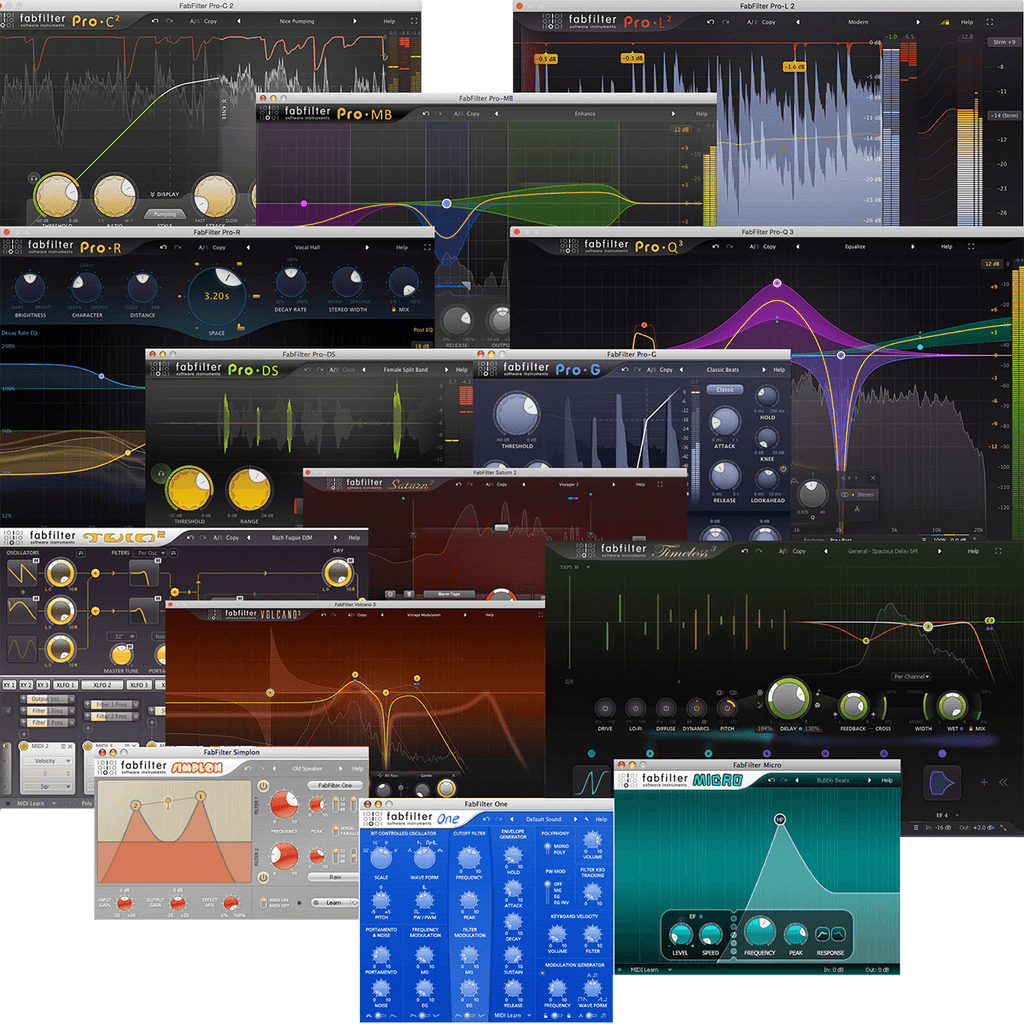
FabFilter Total Bundle 2024
Mastering-grade audio effect plugins including Pro-Q 3 and Pro-C 2.

Waves Total Bundle
The complete collection of 200+ Waves plugins for mixing, mastering, vocal processing and beyond.