
How to make a beat in Studio One 7: drums, chords, and arrangement
A practical, step-by-step walkthrough for building your first beat in Studio One 7 using Impact XT, Pattern mode, and the arrangement view.
Studio One 7 makes beat-making fast once you know the core tools: the Impact XT drum machine, Pattern mode for step sequencing, and the arrangement view for turning loops into a full song. This guide walks a complete beat from an empty session to a structured arrangement.
You can follow along in Studio One Artist or Professional. The workflow is the same.
Step 1: Load Impact XT and build a kit
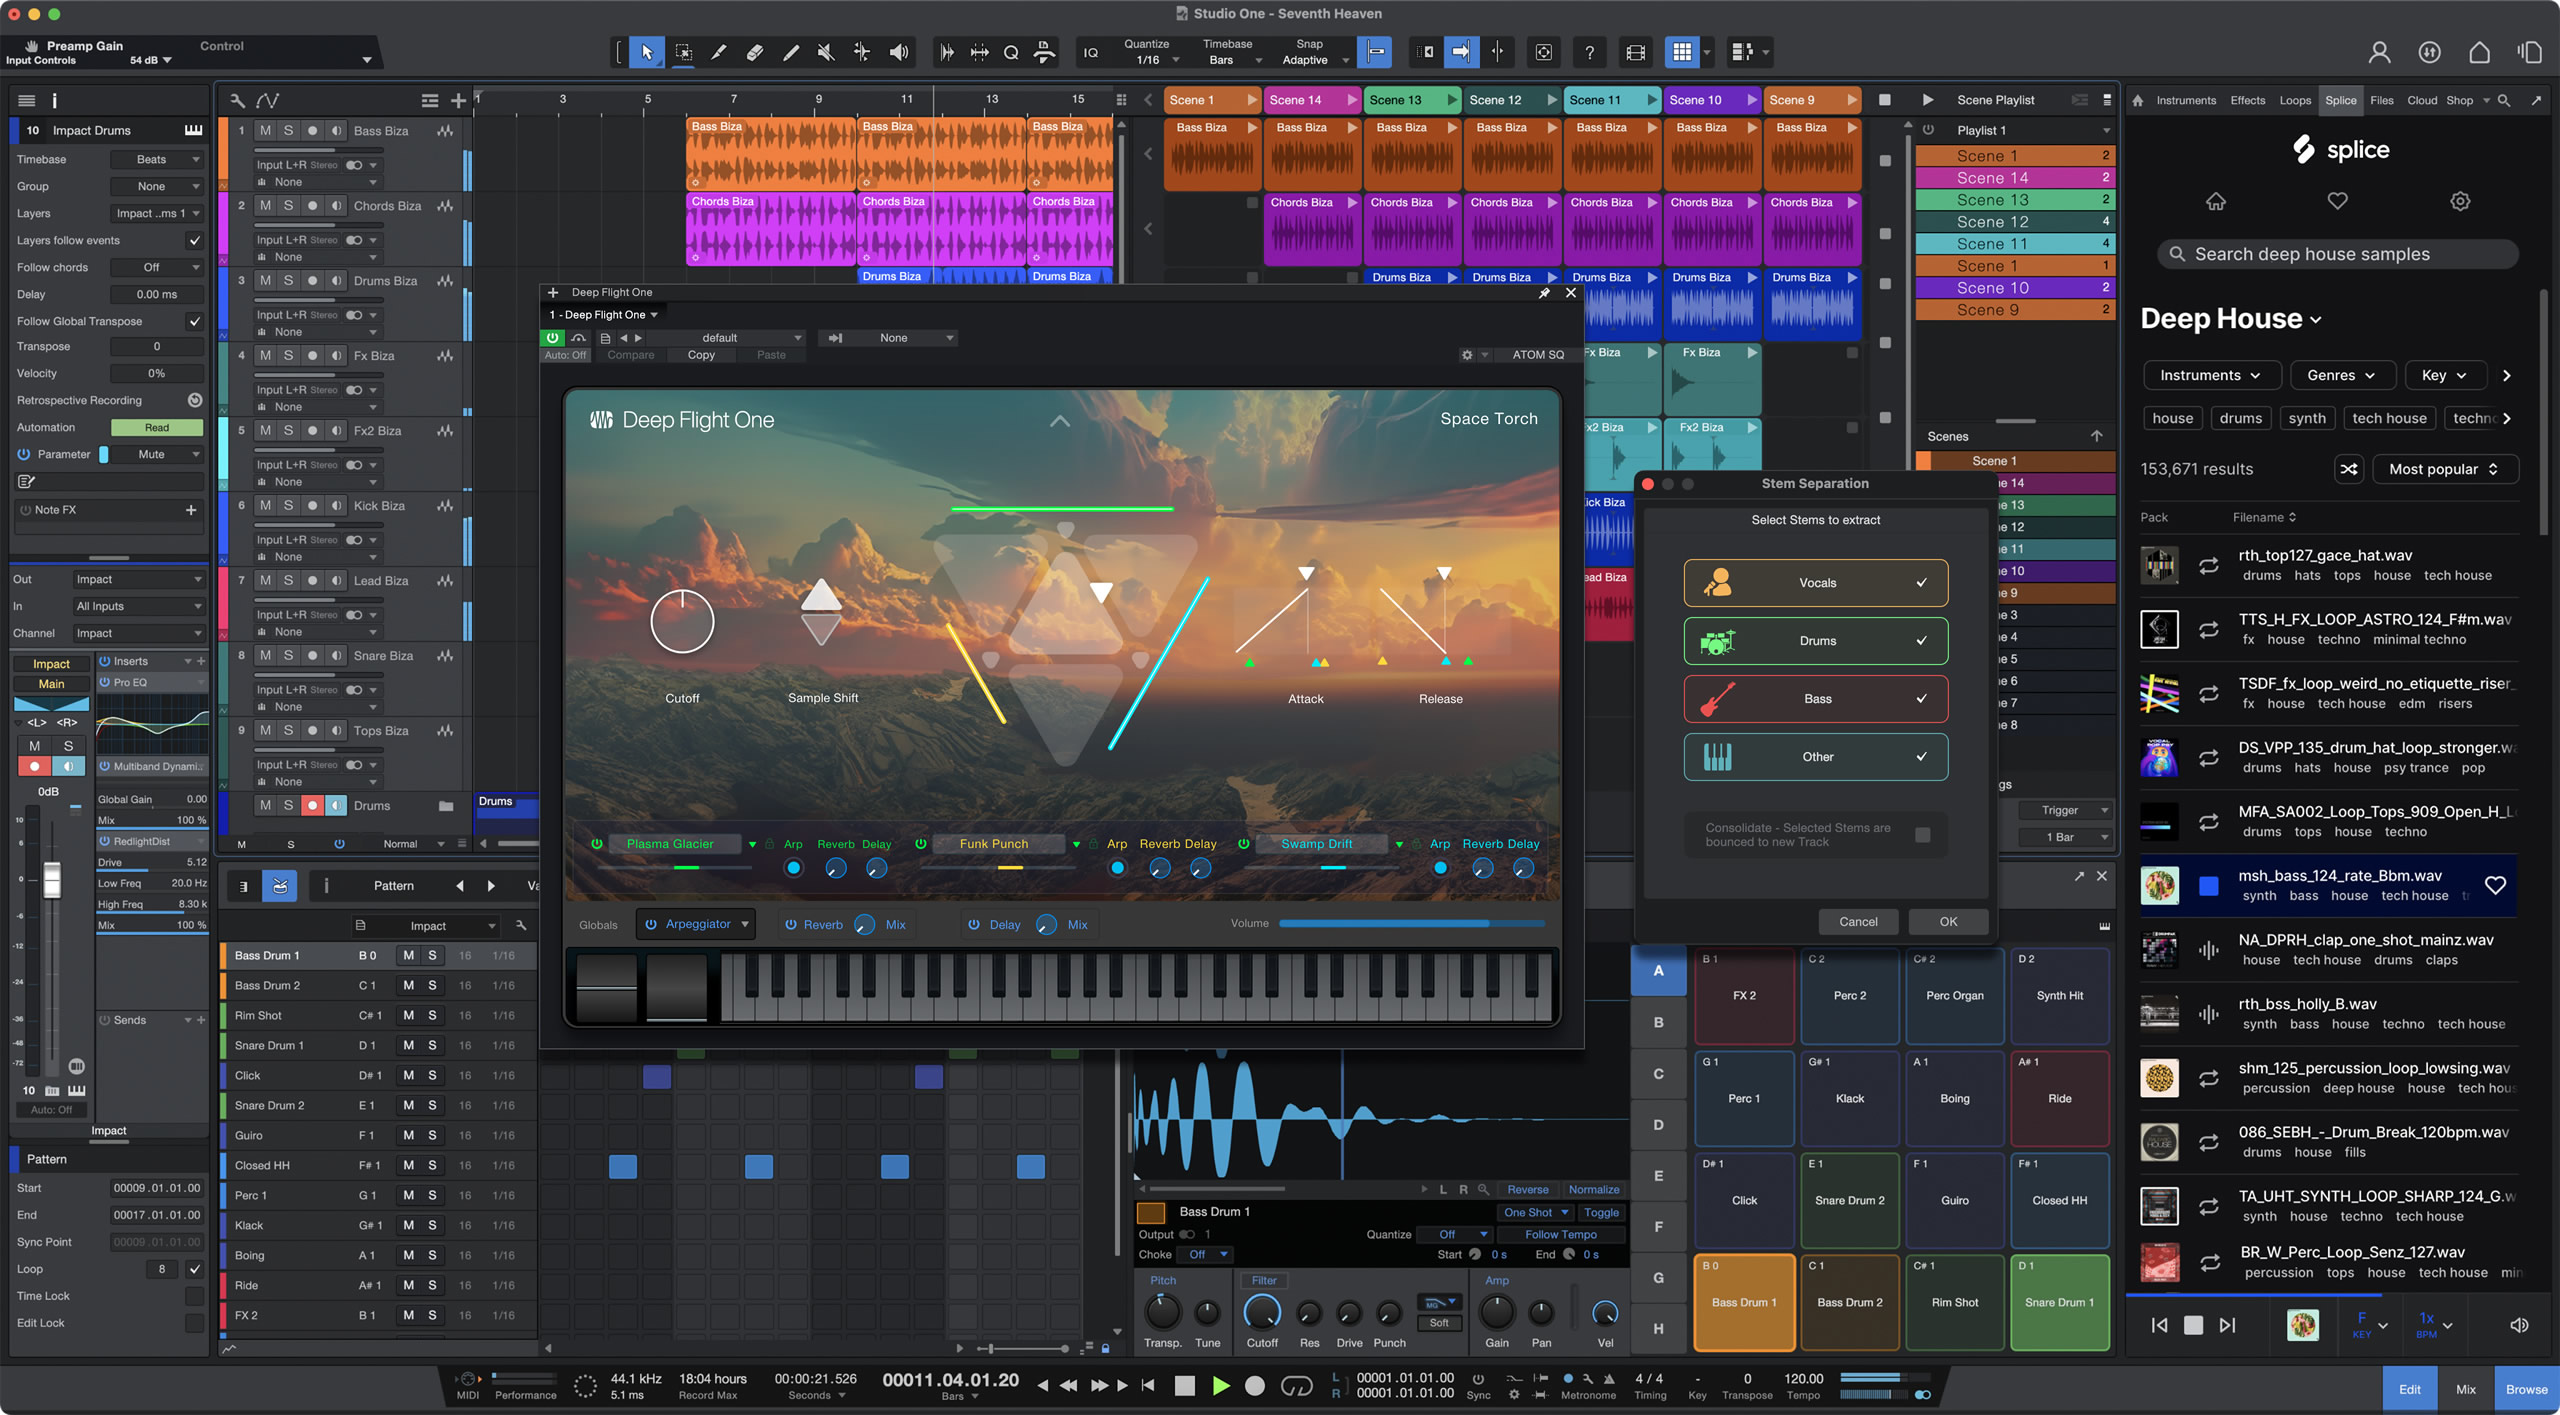
Add an instrument track with Track > Add Tracks (or press T), choose Instrument as the type, and select Impact XT. Building a kit is just drag-and-drop: pull drum samples from the browser onto the pads.
- Drag a kick onto pad 1
- Drag a snare or clap onto pad 2
- Drag a closed hi-hat onto pad 3 and an open hat onto pad 4
- Add percussion (rim, shaker, tom) onto spare pads as needed
Step 2: Program drums in Pattern mode
Studio One gives you two ways to program drums: the Piano Roll and Pattern mode, a step sequencer. For beginners, Pattern mode is faster and more visual. Right-click the track, choose to add a Pattern, then open the Pattern editor.
- Kick: click steps 1, 5, 9, and 11 for a slightly syncopated pulse
- Snare: click steps 5 and 13 to land on beats 2 and 4
- Closed hat: click every other step (or every step) for the top groove
- Use velocity and the open hat to add movement and feel
Step 3: Add chords and a melody
Create a second instrument track for harmony using a pad or keys preset from Presence XT or the Mai Tai synth. Program sustained chords that change every two to four beats. Start simple with triads: root, third, and fifth.
A short, repeating melody on a third track over those chords gives the beat its hook. Keep it minimal at first — you can always layer more later.
Step 4: Turn loops into an arrangement
A drum loop plus a melody loop only becomes a beat when you arrange it into sections with variation. Extend a Pattern clip by selecting it and holding Alt (Windows) or Option (Mac) while dragging right to make copies.
- Intro: drums only, or a filtered version of the main loop
- Verse: full drums plus chords
- Chorus/hook: add the melody and any extra percussion
- Drop elements out and back in to create dynamics between sections
Step 5: Quick mix and export
Balance the kit so the kick and snare lead, set rough levels for chords and melody, and add light EQ and compression where needed.
When the loop sounds good and the arrangement holds together, export with Song > Export Mixdown. You now have a finished beat.
Frequently asked questions
Do I need a MIDI keyboard to make a beat in Studio One?
No. You can program everything by clicking steps in <strong>Pattern mode</strong> or drawing notes in the <strong>Piano Roll</strong> with your mouse. A MIDI keyboard or pad controller speeds things up and adds feel, but it is optional.
What is the difference between Pattern mode and the Piano Roll?
<strong>Pattern mode</strong> is a step sequencer where you click steps on and off in a grid — fast and visual for drums. The <strong>Piano Roll</strong> gives finer control over note length, position, and velocity. Many producers program drums in Pattern mode and melodies in the Piano Roll.
Can I use my own samples in Impact XT?
Yes. Drag any audio sample from the Studio One browser or your file system directly onto an <strong>Impact XT</strong> pad. That lets you build custom kits from your own one-shots and chops.
How long should a beat be before I arrange it?
Build a solid one- or two-bar loop first, then extend and vary it into sections. The loop is your raw material; the arrangement with intro, verse, and hook is what turns it into an actual song.
Recommended Related Products
PreSonus Studio One 7 Pro
A complete DAW for tracking, editing, mixing, mastering, and live performance.